SIMPLE FURNITURE
5 Weeks - Fall Semster 2026
An introduction to woodworking with an emphasis on the balance between aesthetics, structure, and function.
Skills Acquired - Concept Sketching, Laser Cutting, 3D Modeling, and Woodworking
DESIGN GOALS
Utilize one of three archetypes to create meaningful form and structure.
Learn wood joinery techniques and machinery.
Create a final working drawing that effectively communicates dimensions and construction methods.
PROBLEM & CONCEPT
My room has become a collection of studio projects and sketchbook papers that desperately require an organization system.
Objective is to build a simple piece of furniture using wood joinery.
Building a shelf meets the criteria of the project while simultaneously serving as tool to reorganize my room.
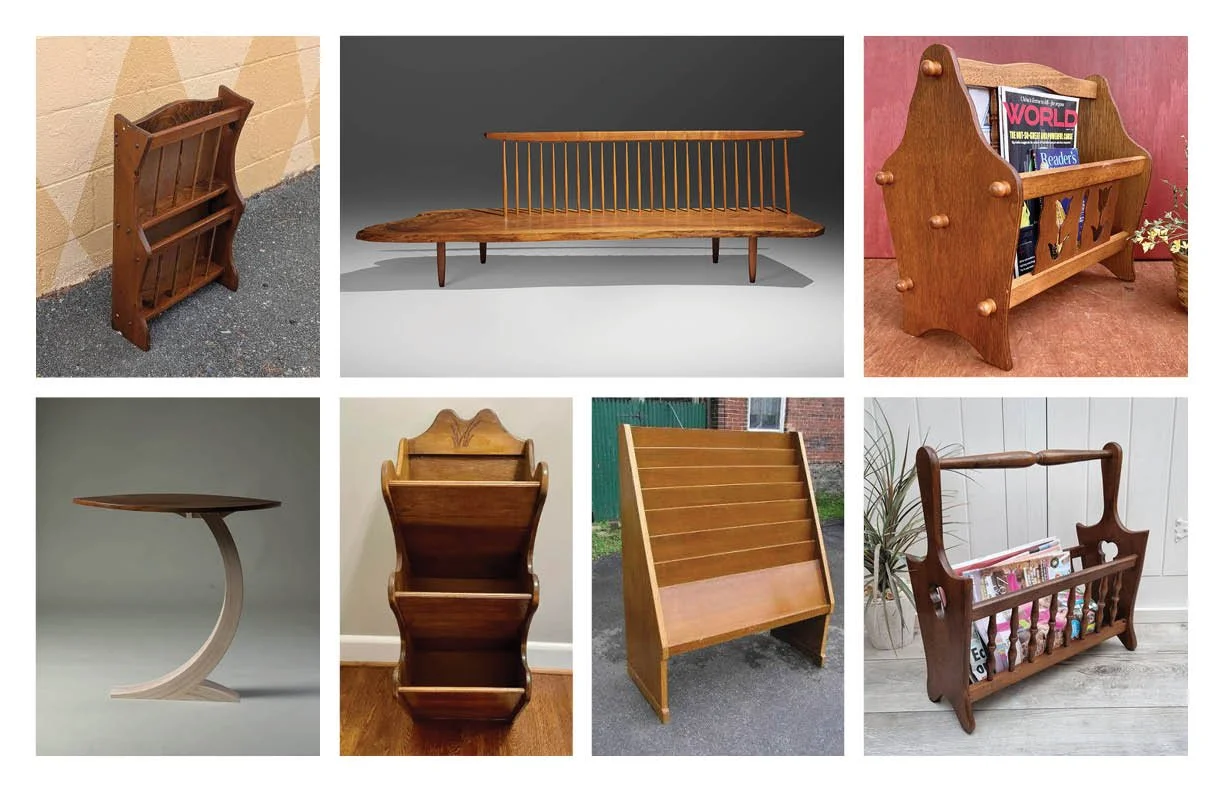
INSPIRATION IMAGES
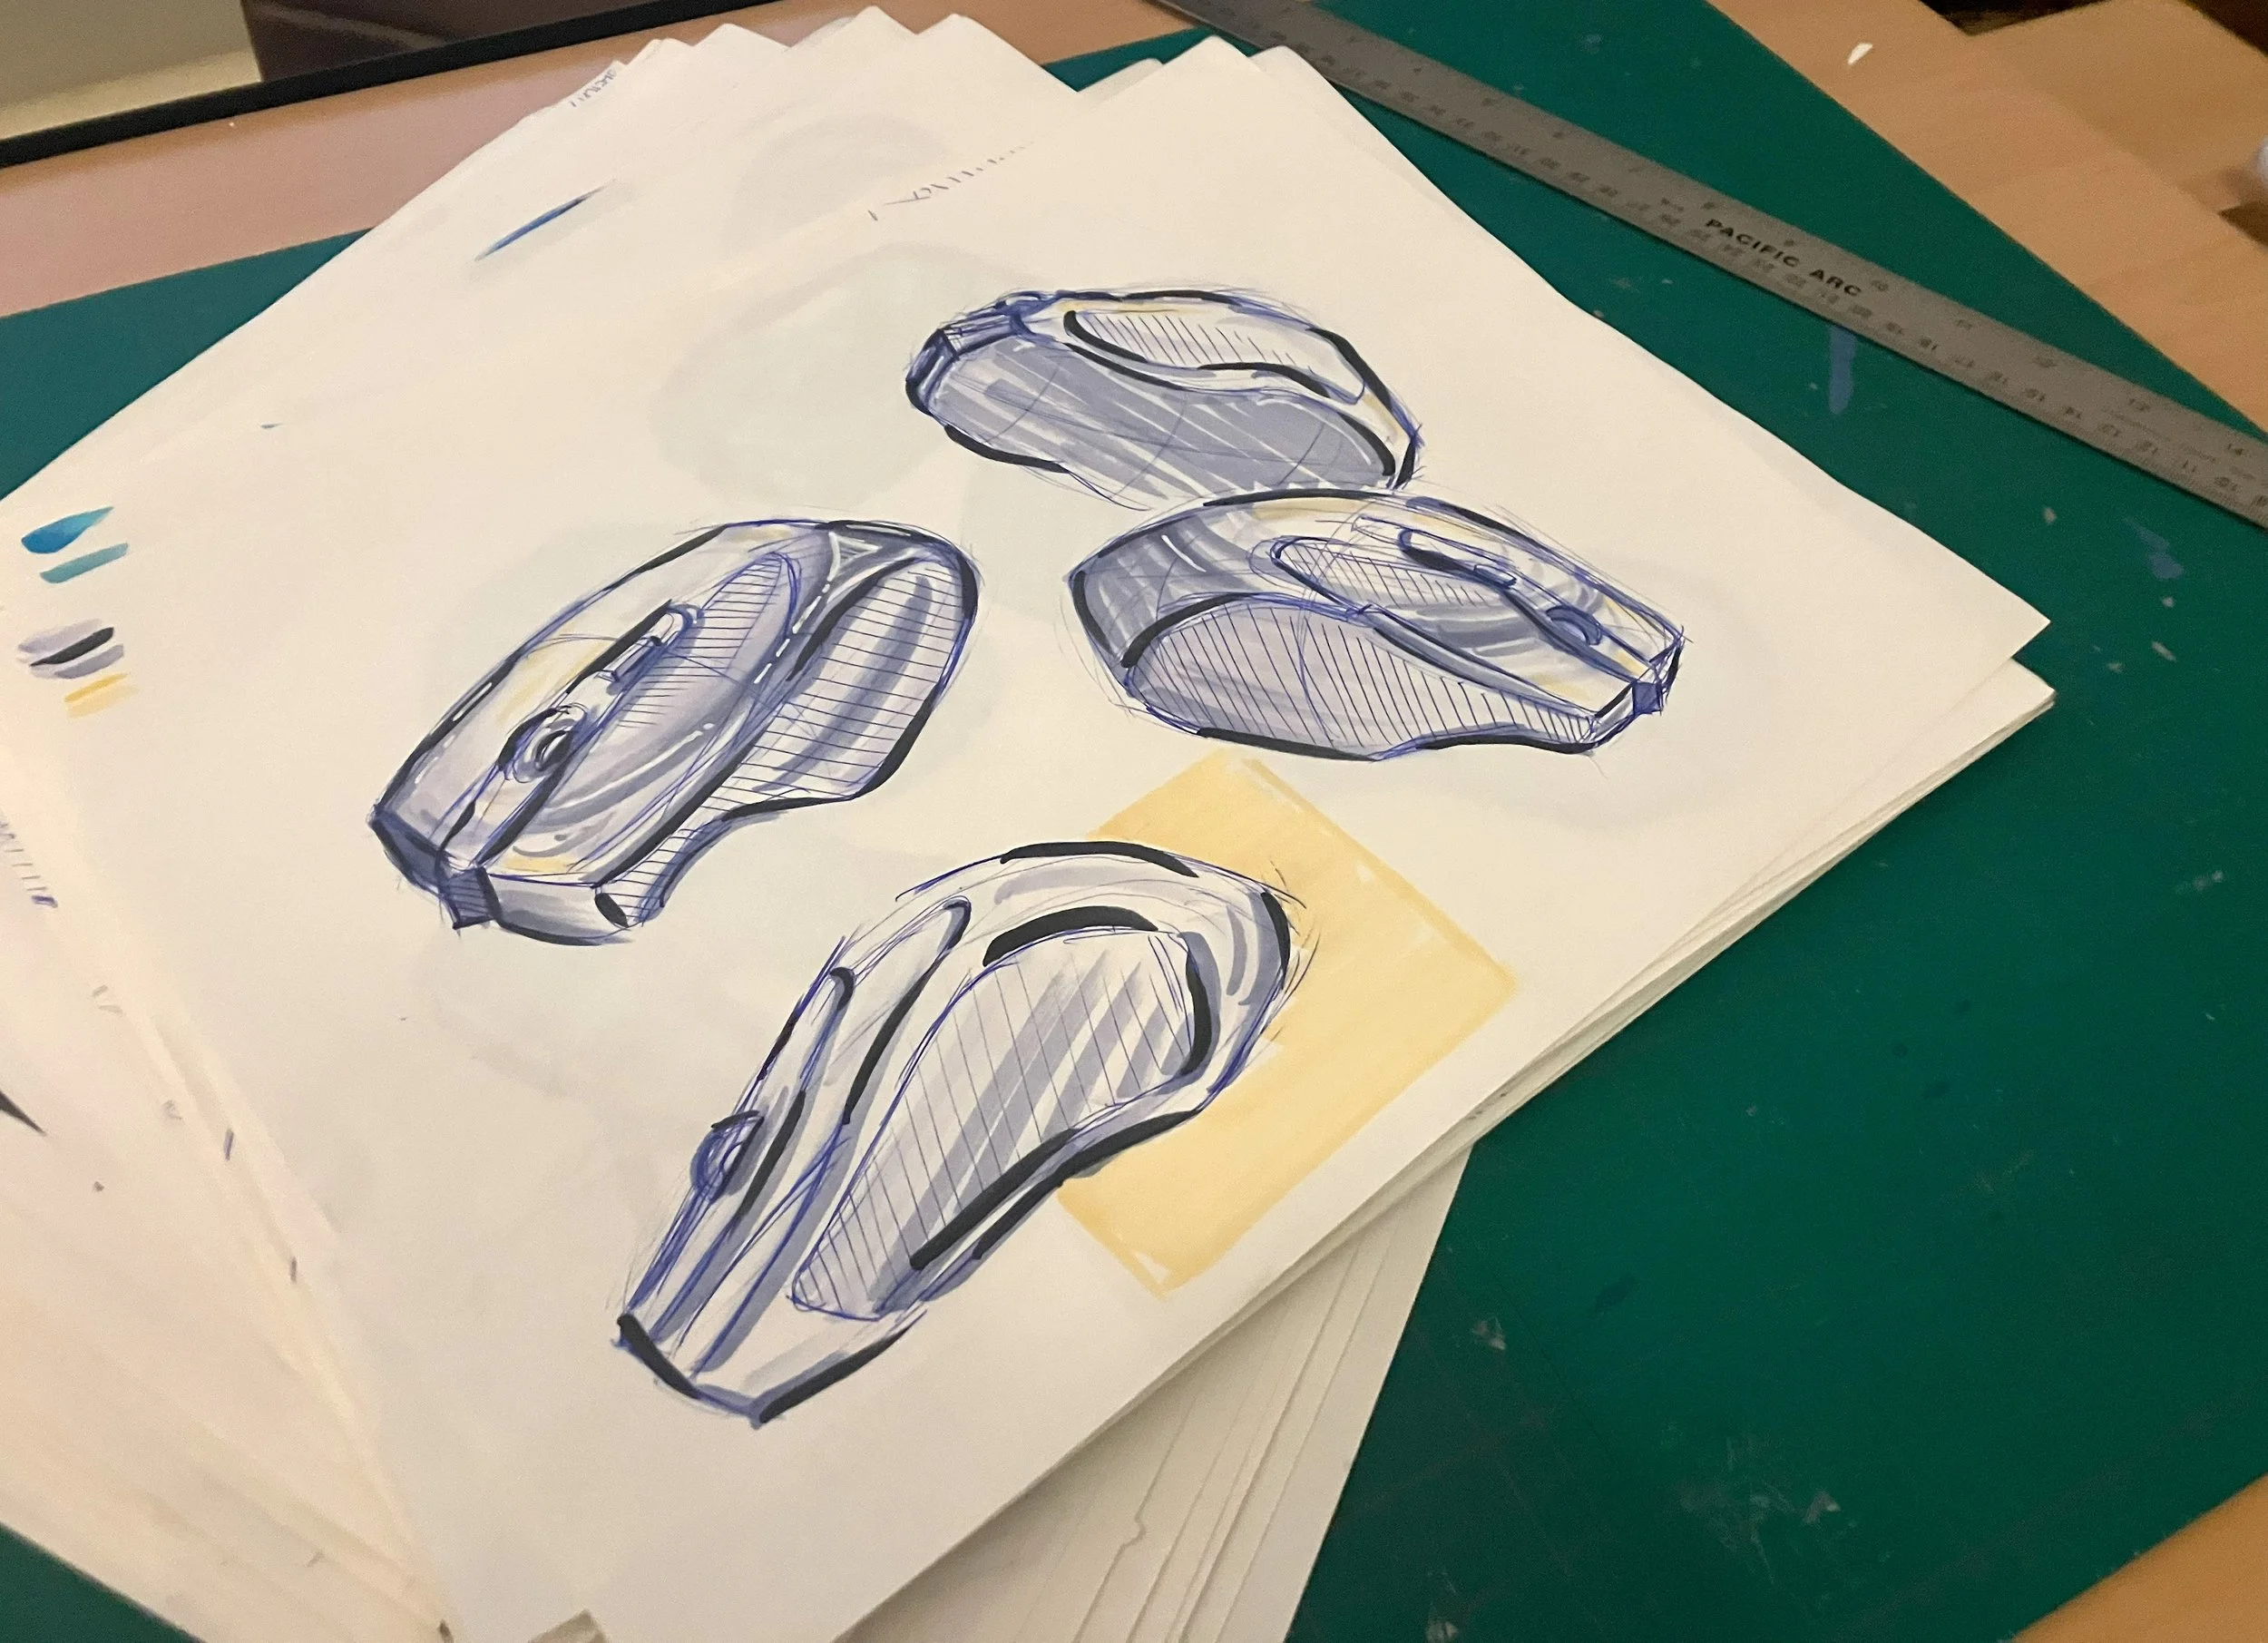
SKETCH ITERATIONS
FINAL DRAWING
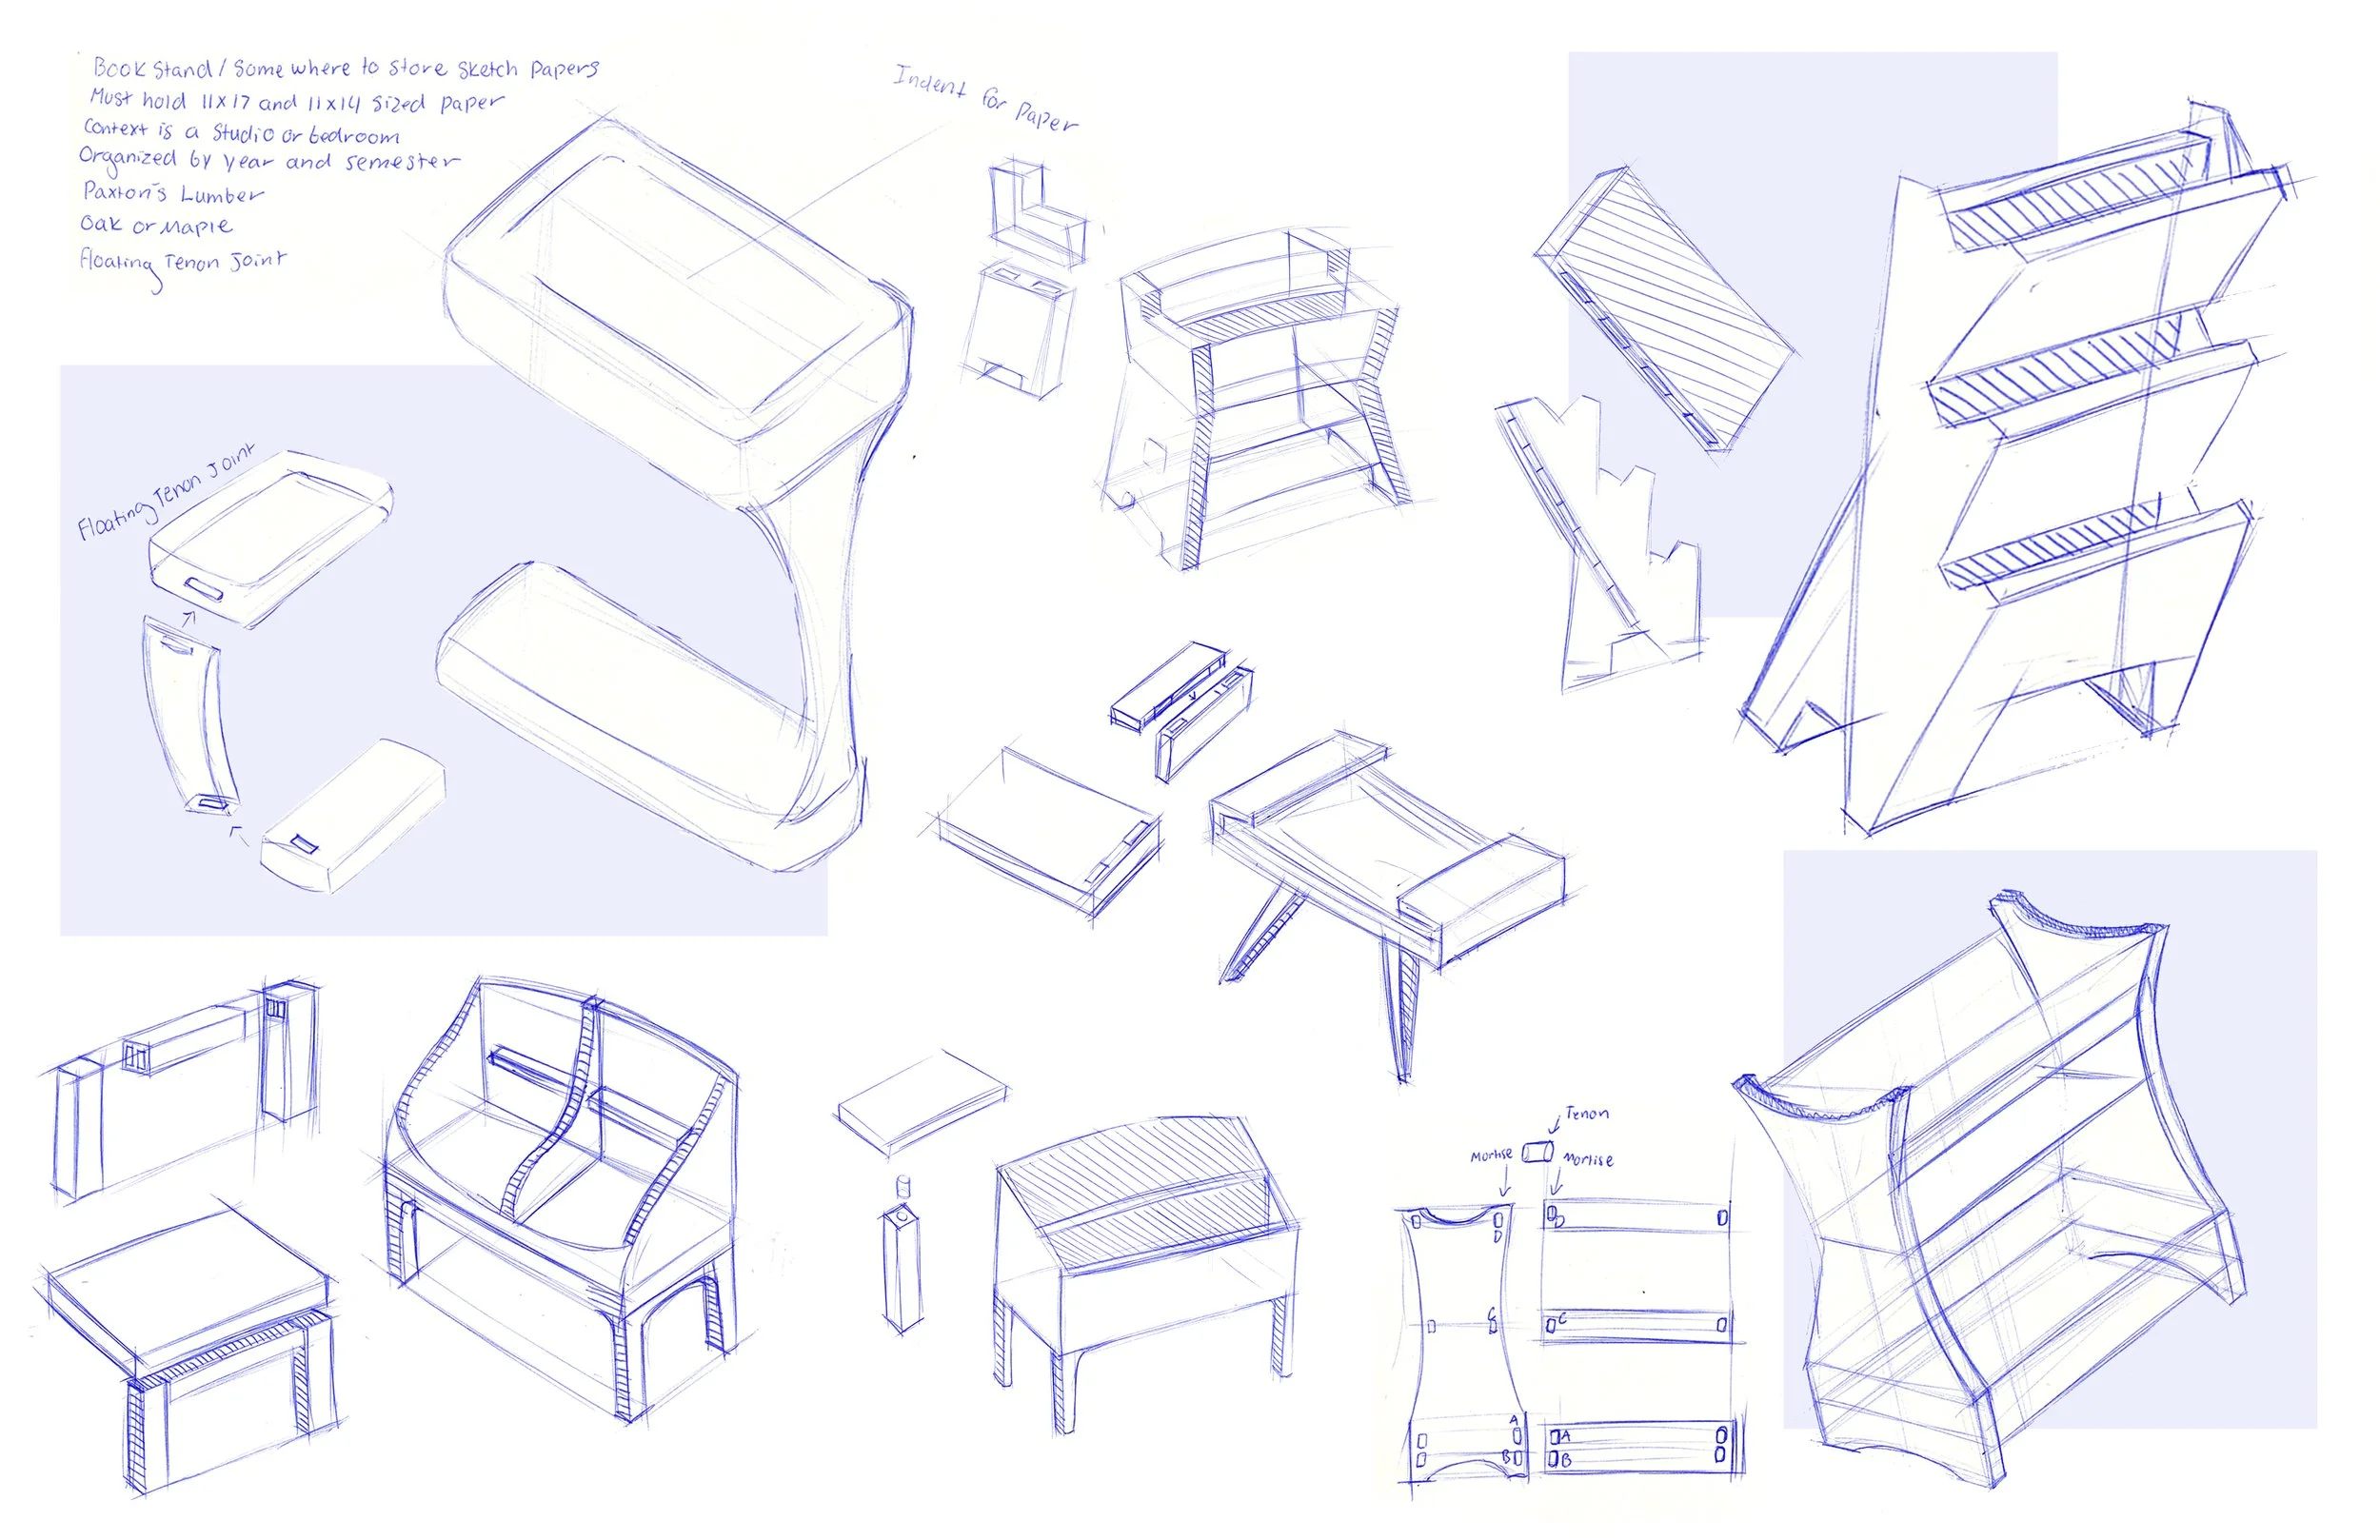
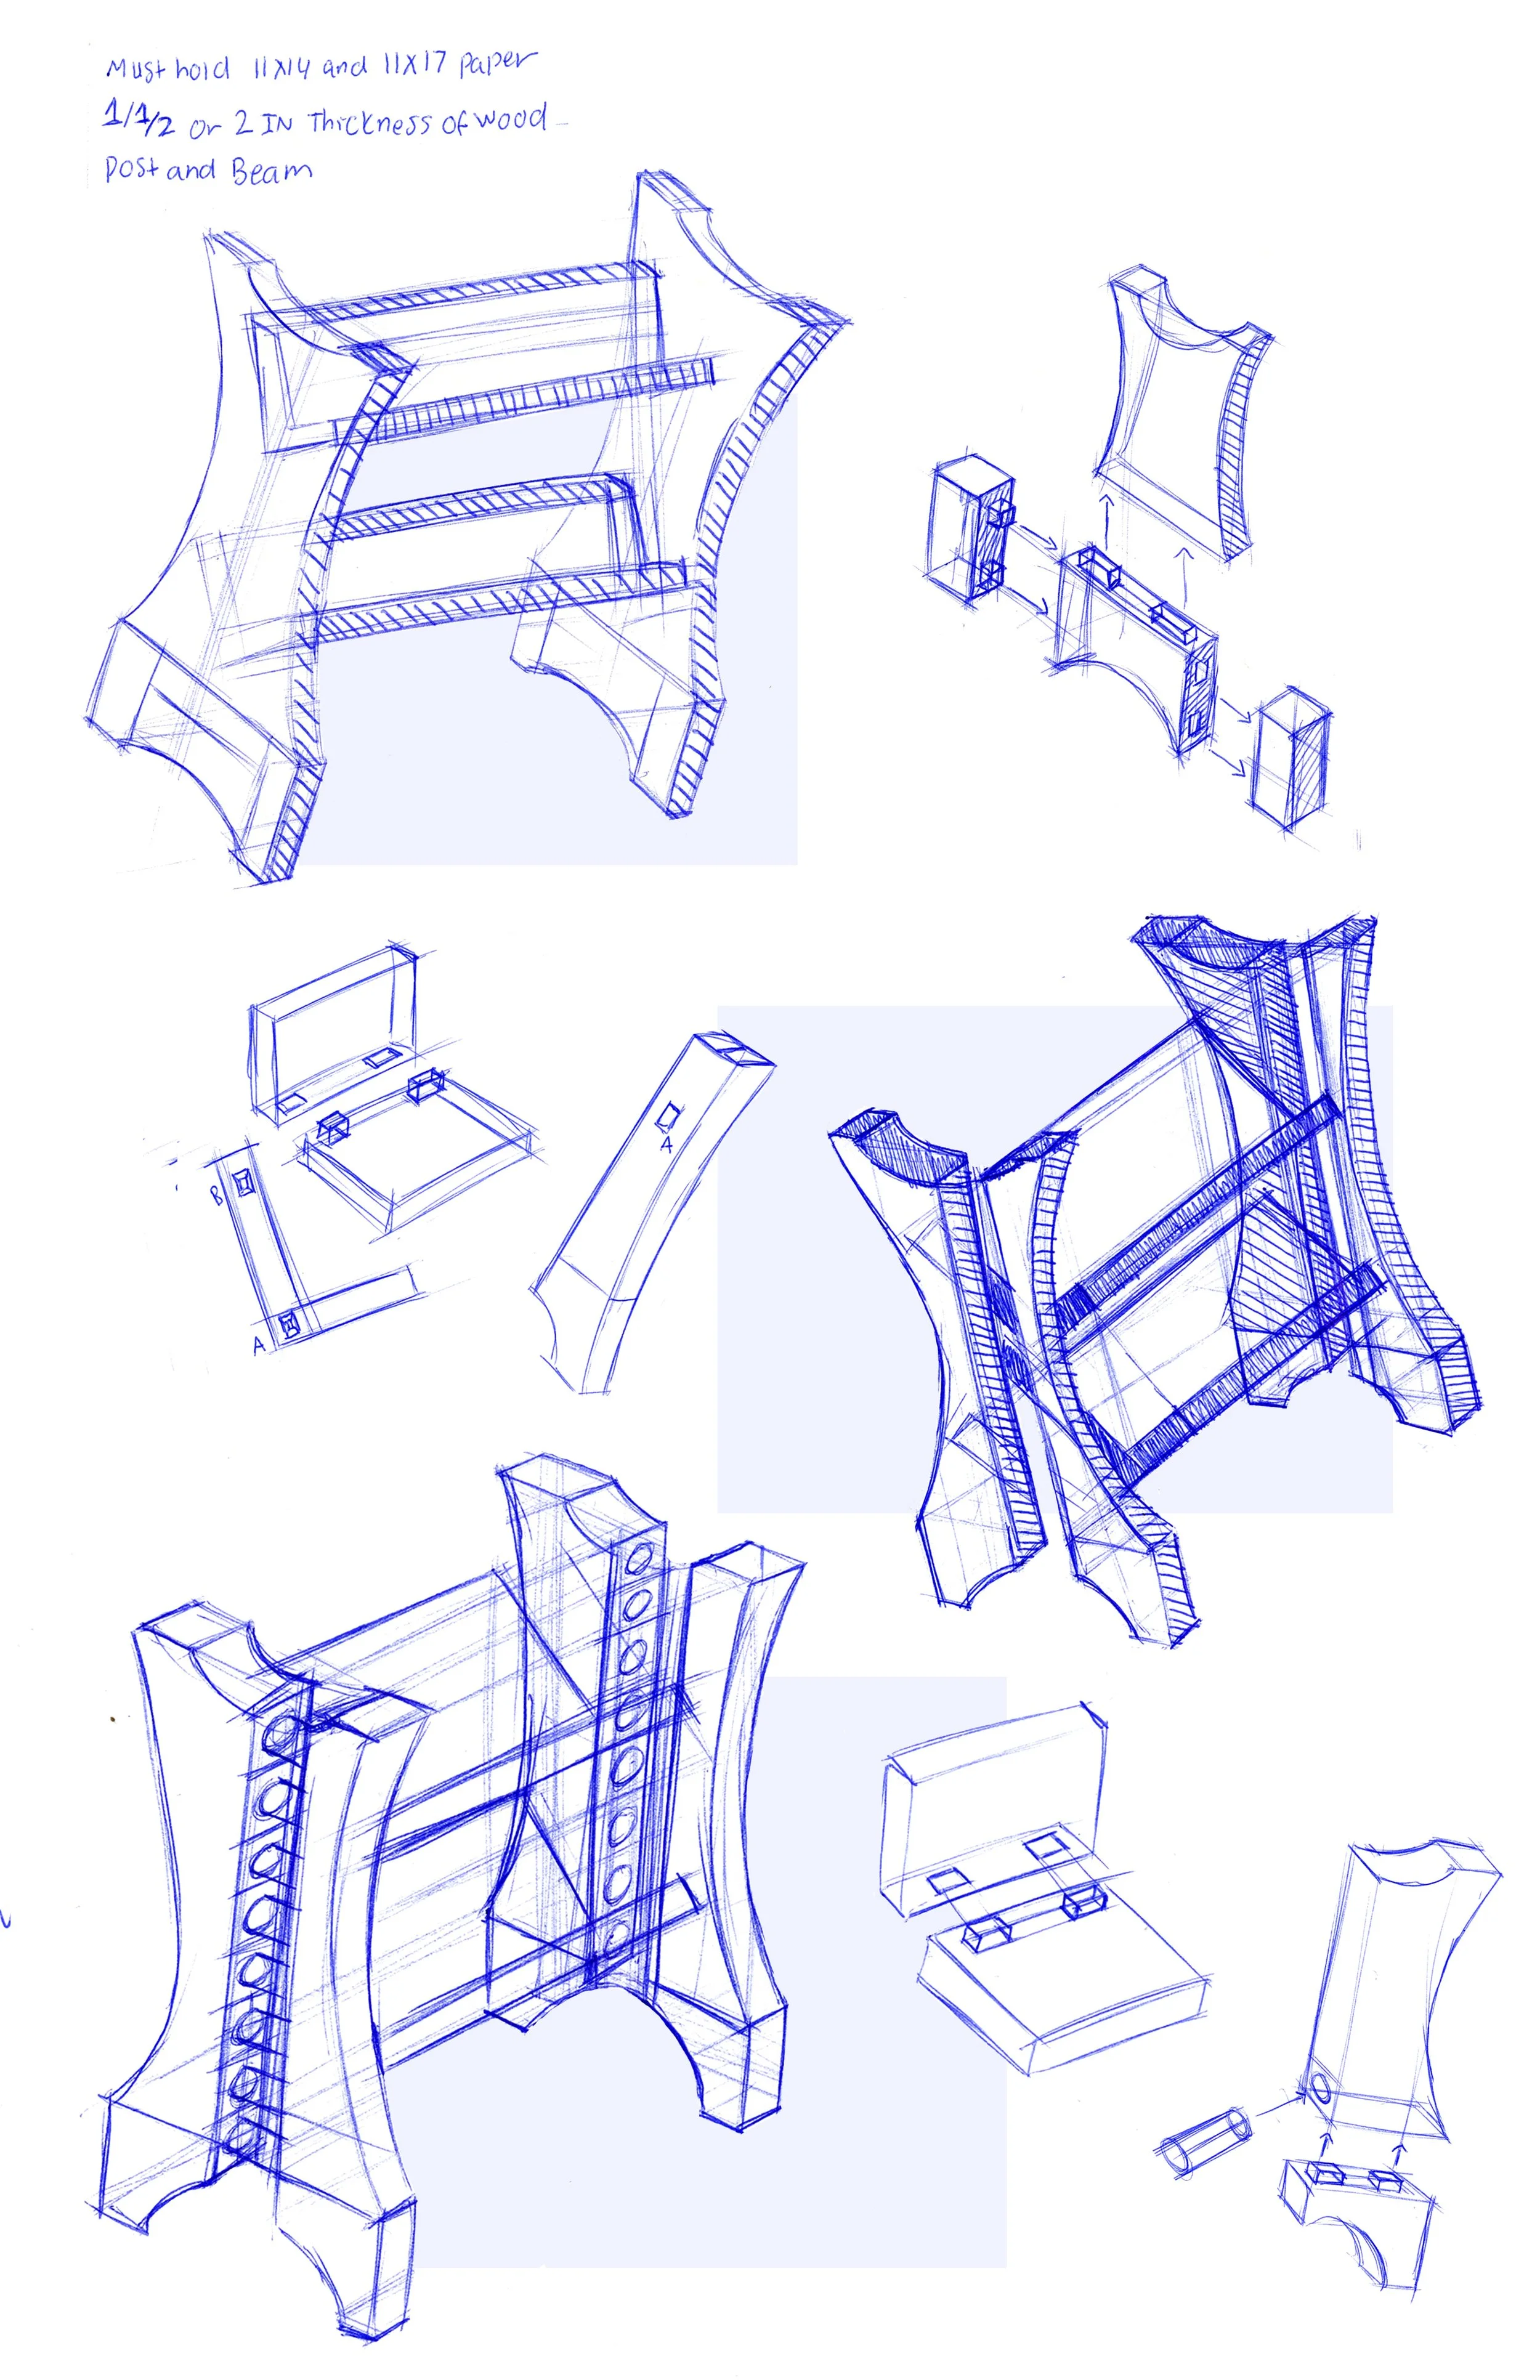
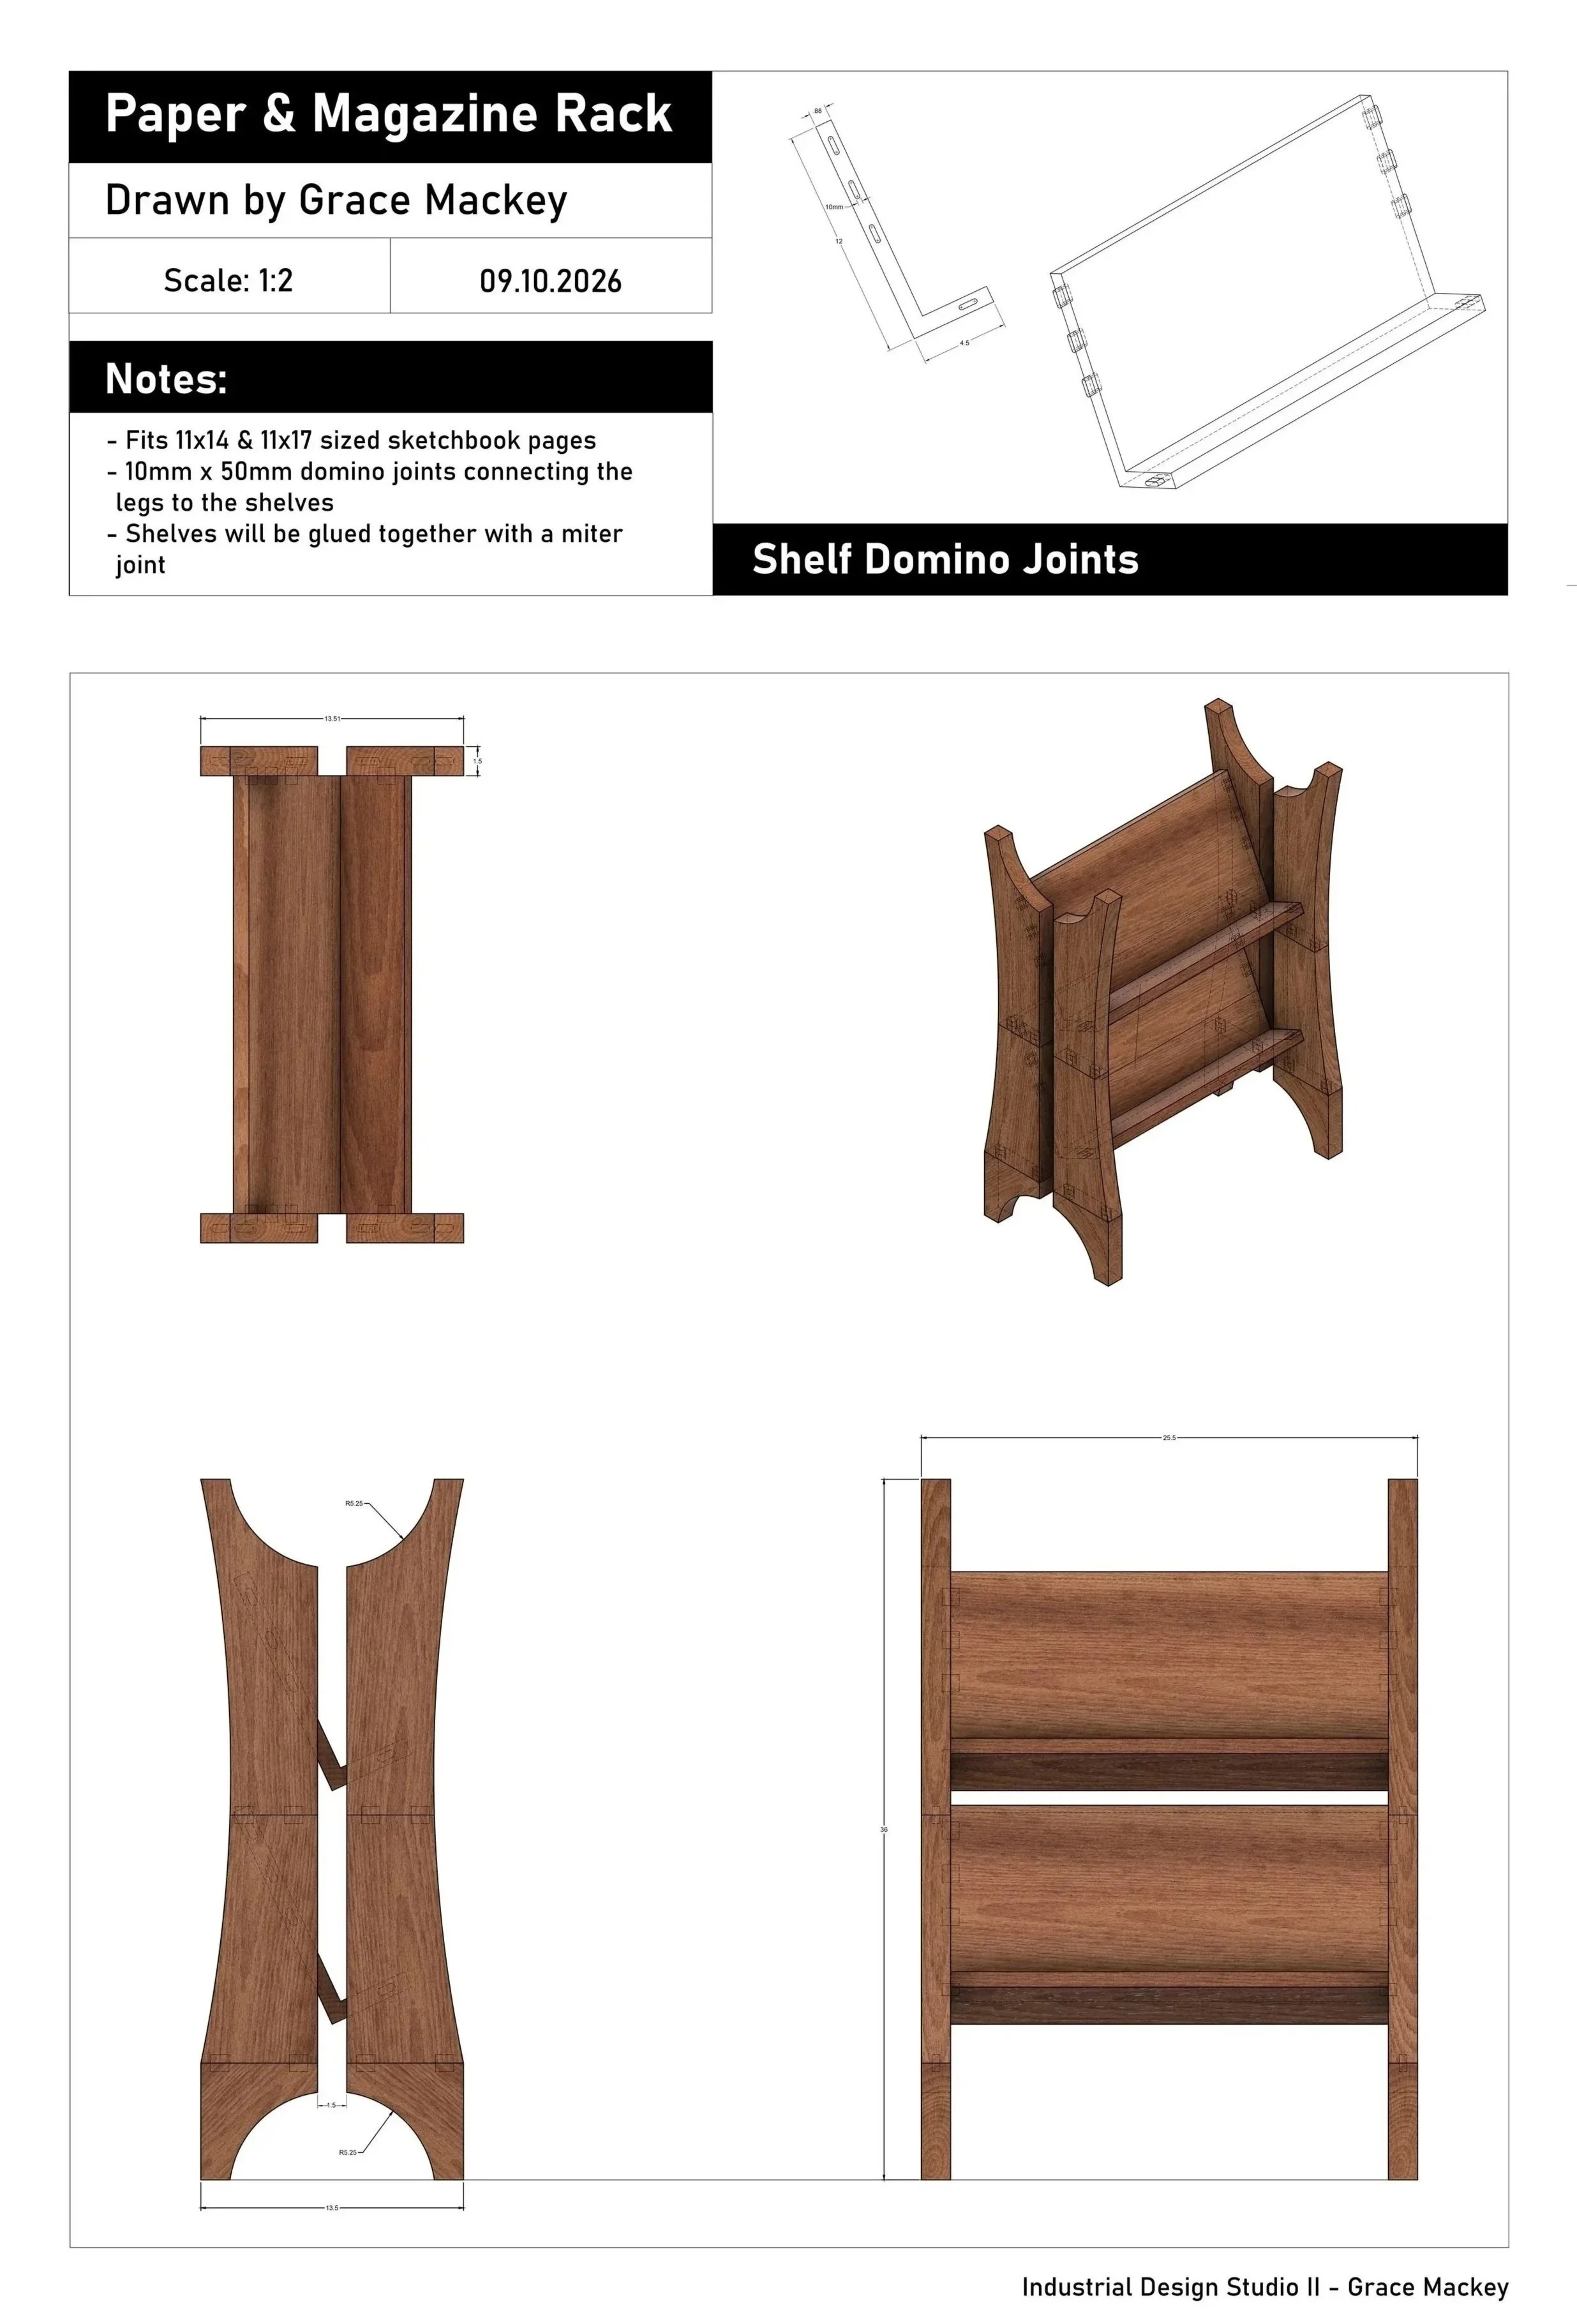
By the end of the iterative phase, I gained a sense of what the dimensions of the piece should be based on the size of sketchbook paper that I use. Additionally, I became set on domino joinery with rung joinery as a potiential back up. The shelves were to be glued together with a miter joint and then domino jointed to the four legs.
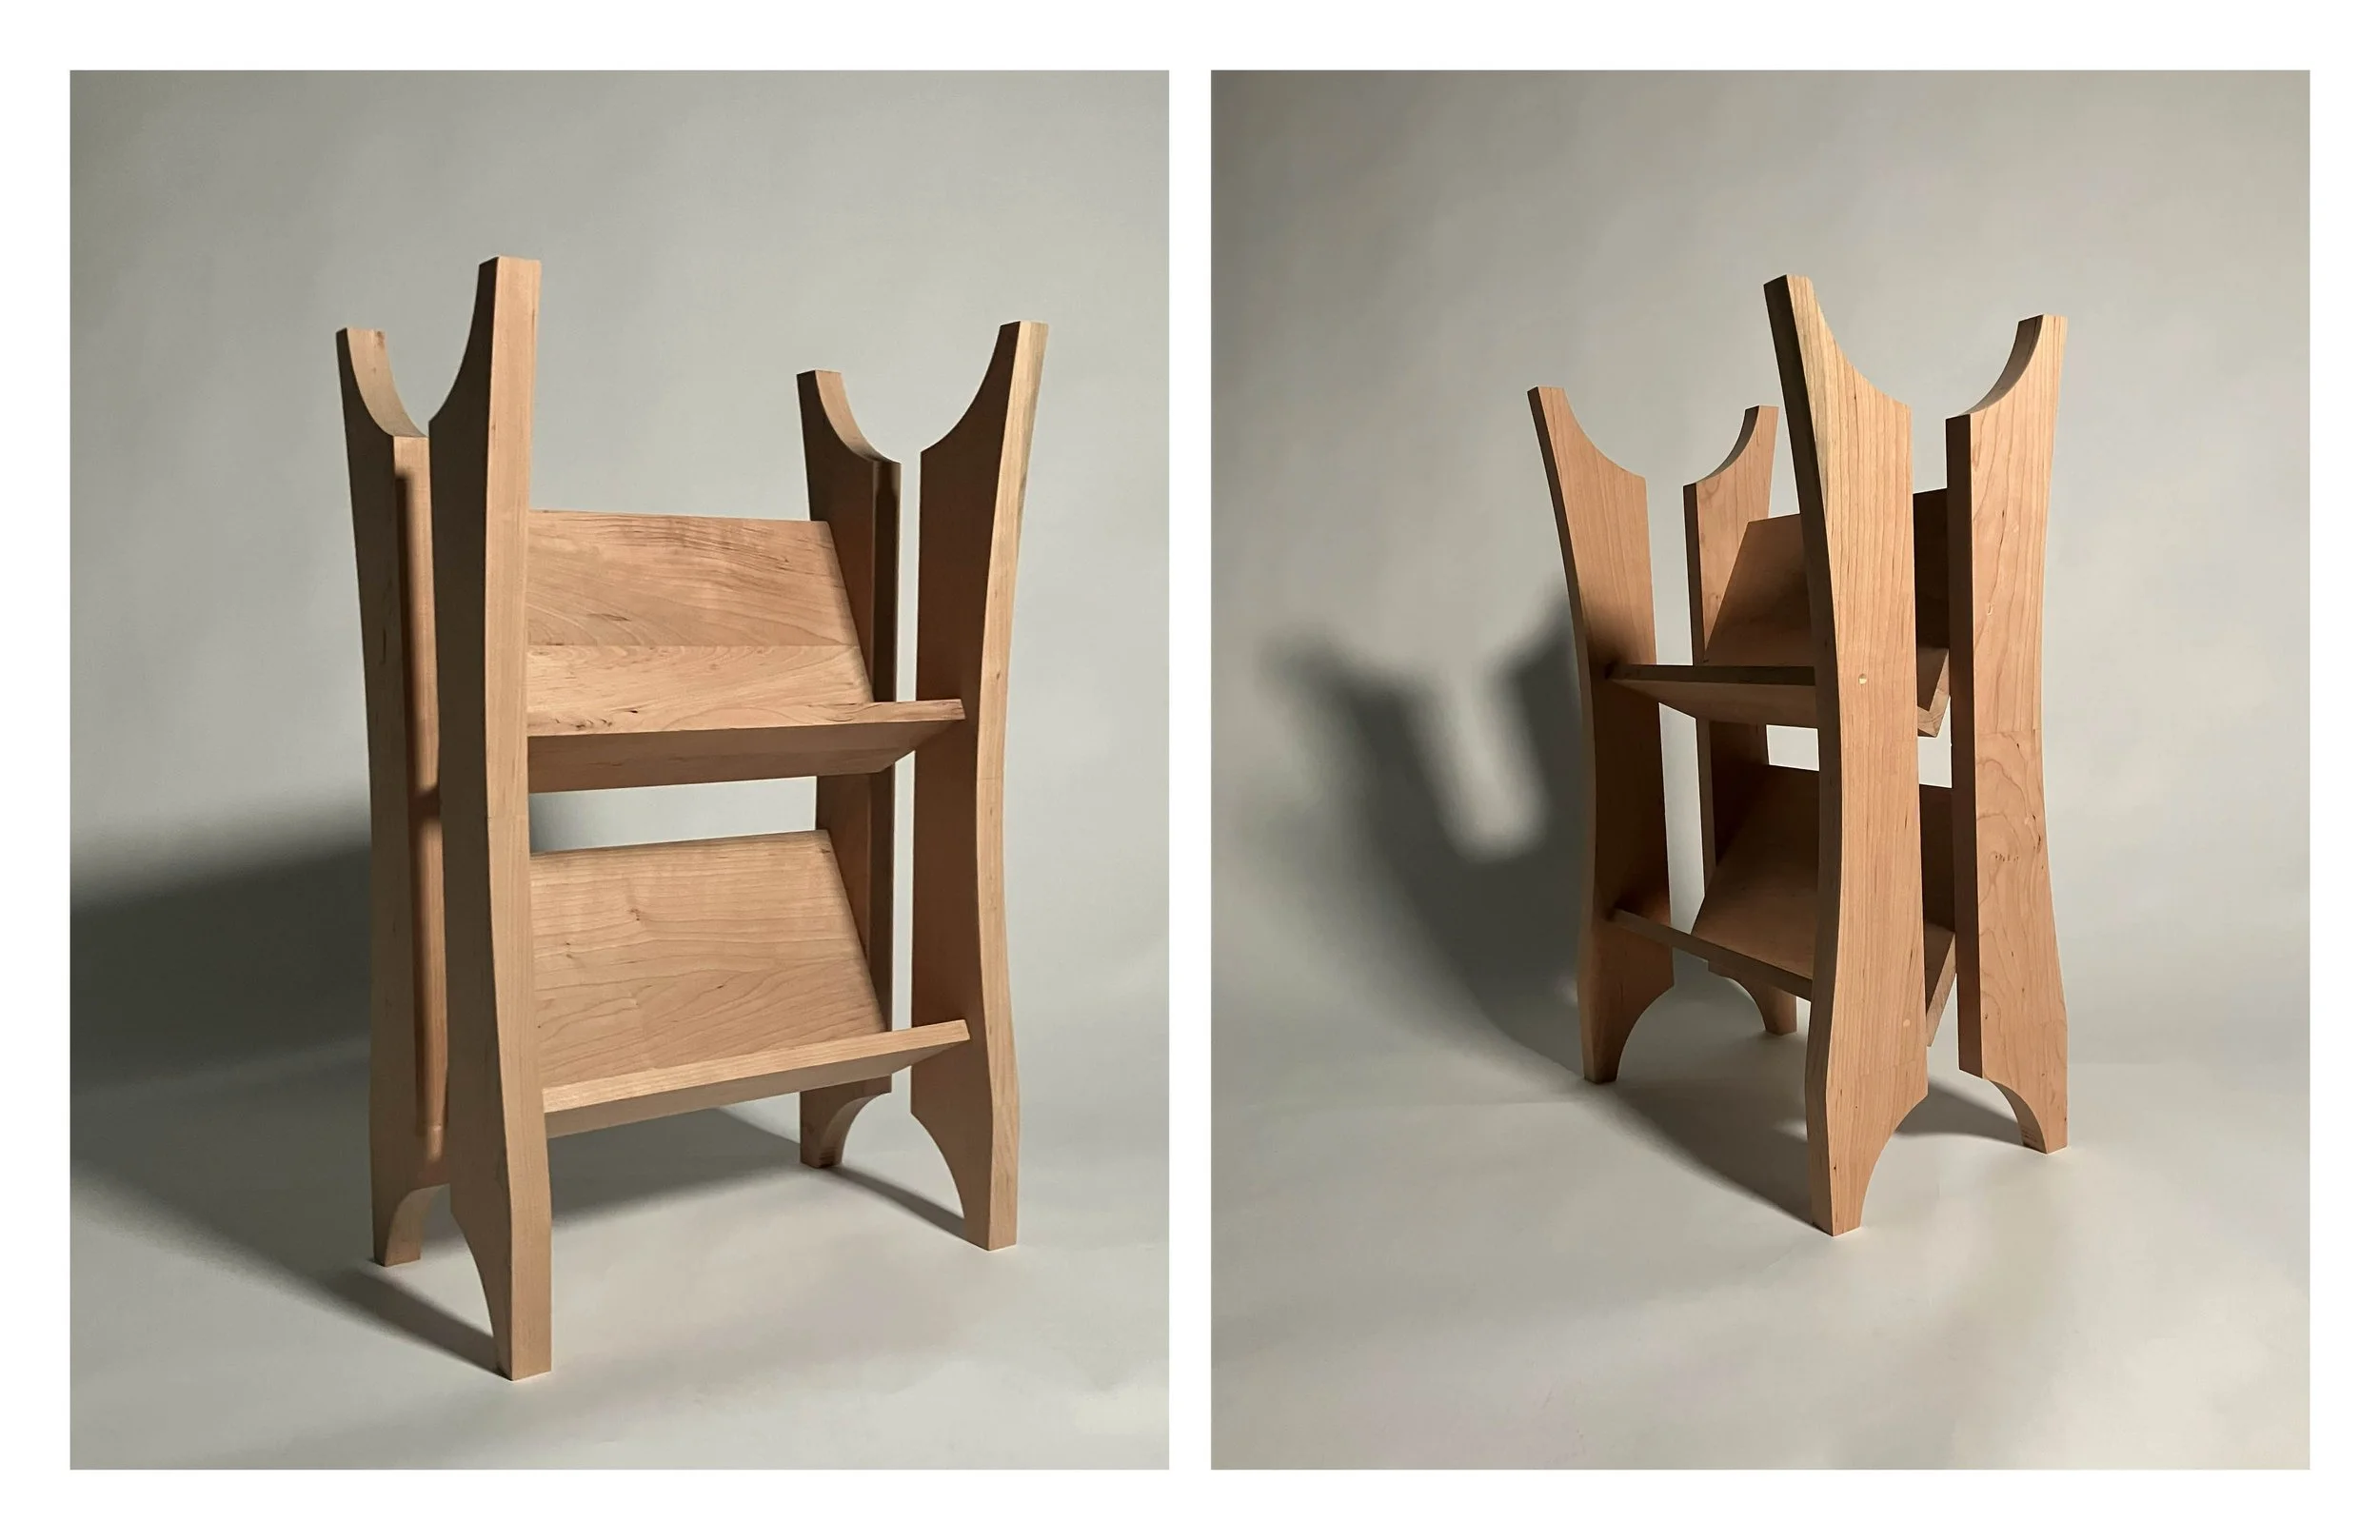
The final construction drawing shows a shelf with a post and rung archetype (Shelves act like rungs connecting the legs).
Initial concept sketching was centered around untilizing three archetypes that were discussed in class.
Post & Slab - Legs extend into a plane
Post & Beam - Use of an apron for support
Post & Rung - Rungs help stabilize and hold the legs in place
As sketching progressed, it became more focused on form, aesthetics, context, and joinery. To fit in with the older furniture in my house, many of the designs are inspired by antique bookshelfs and magazine holders. A majority of them also have domino, dowel, or tenon joinery to help align the shelves to the legs of the piece.
WOODWORKING PROCESS
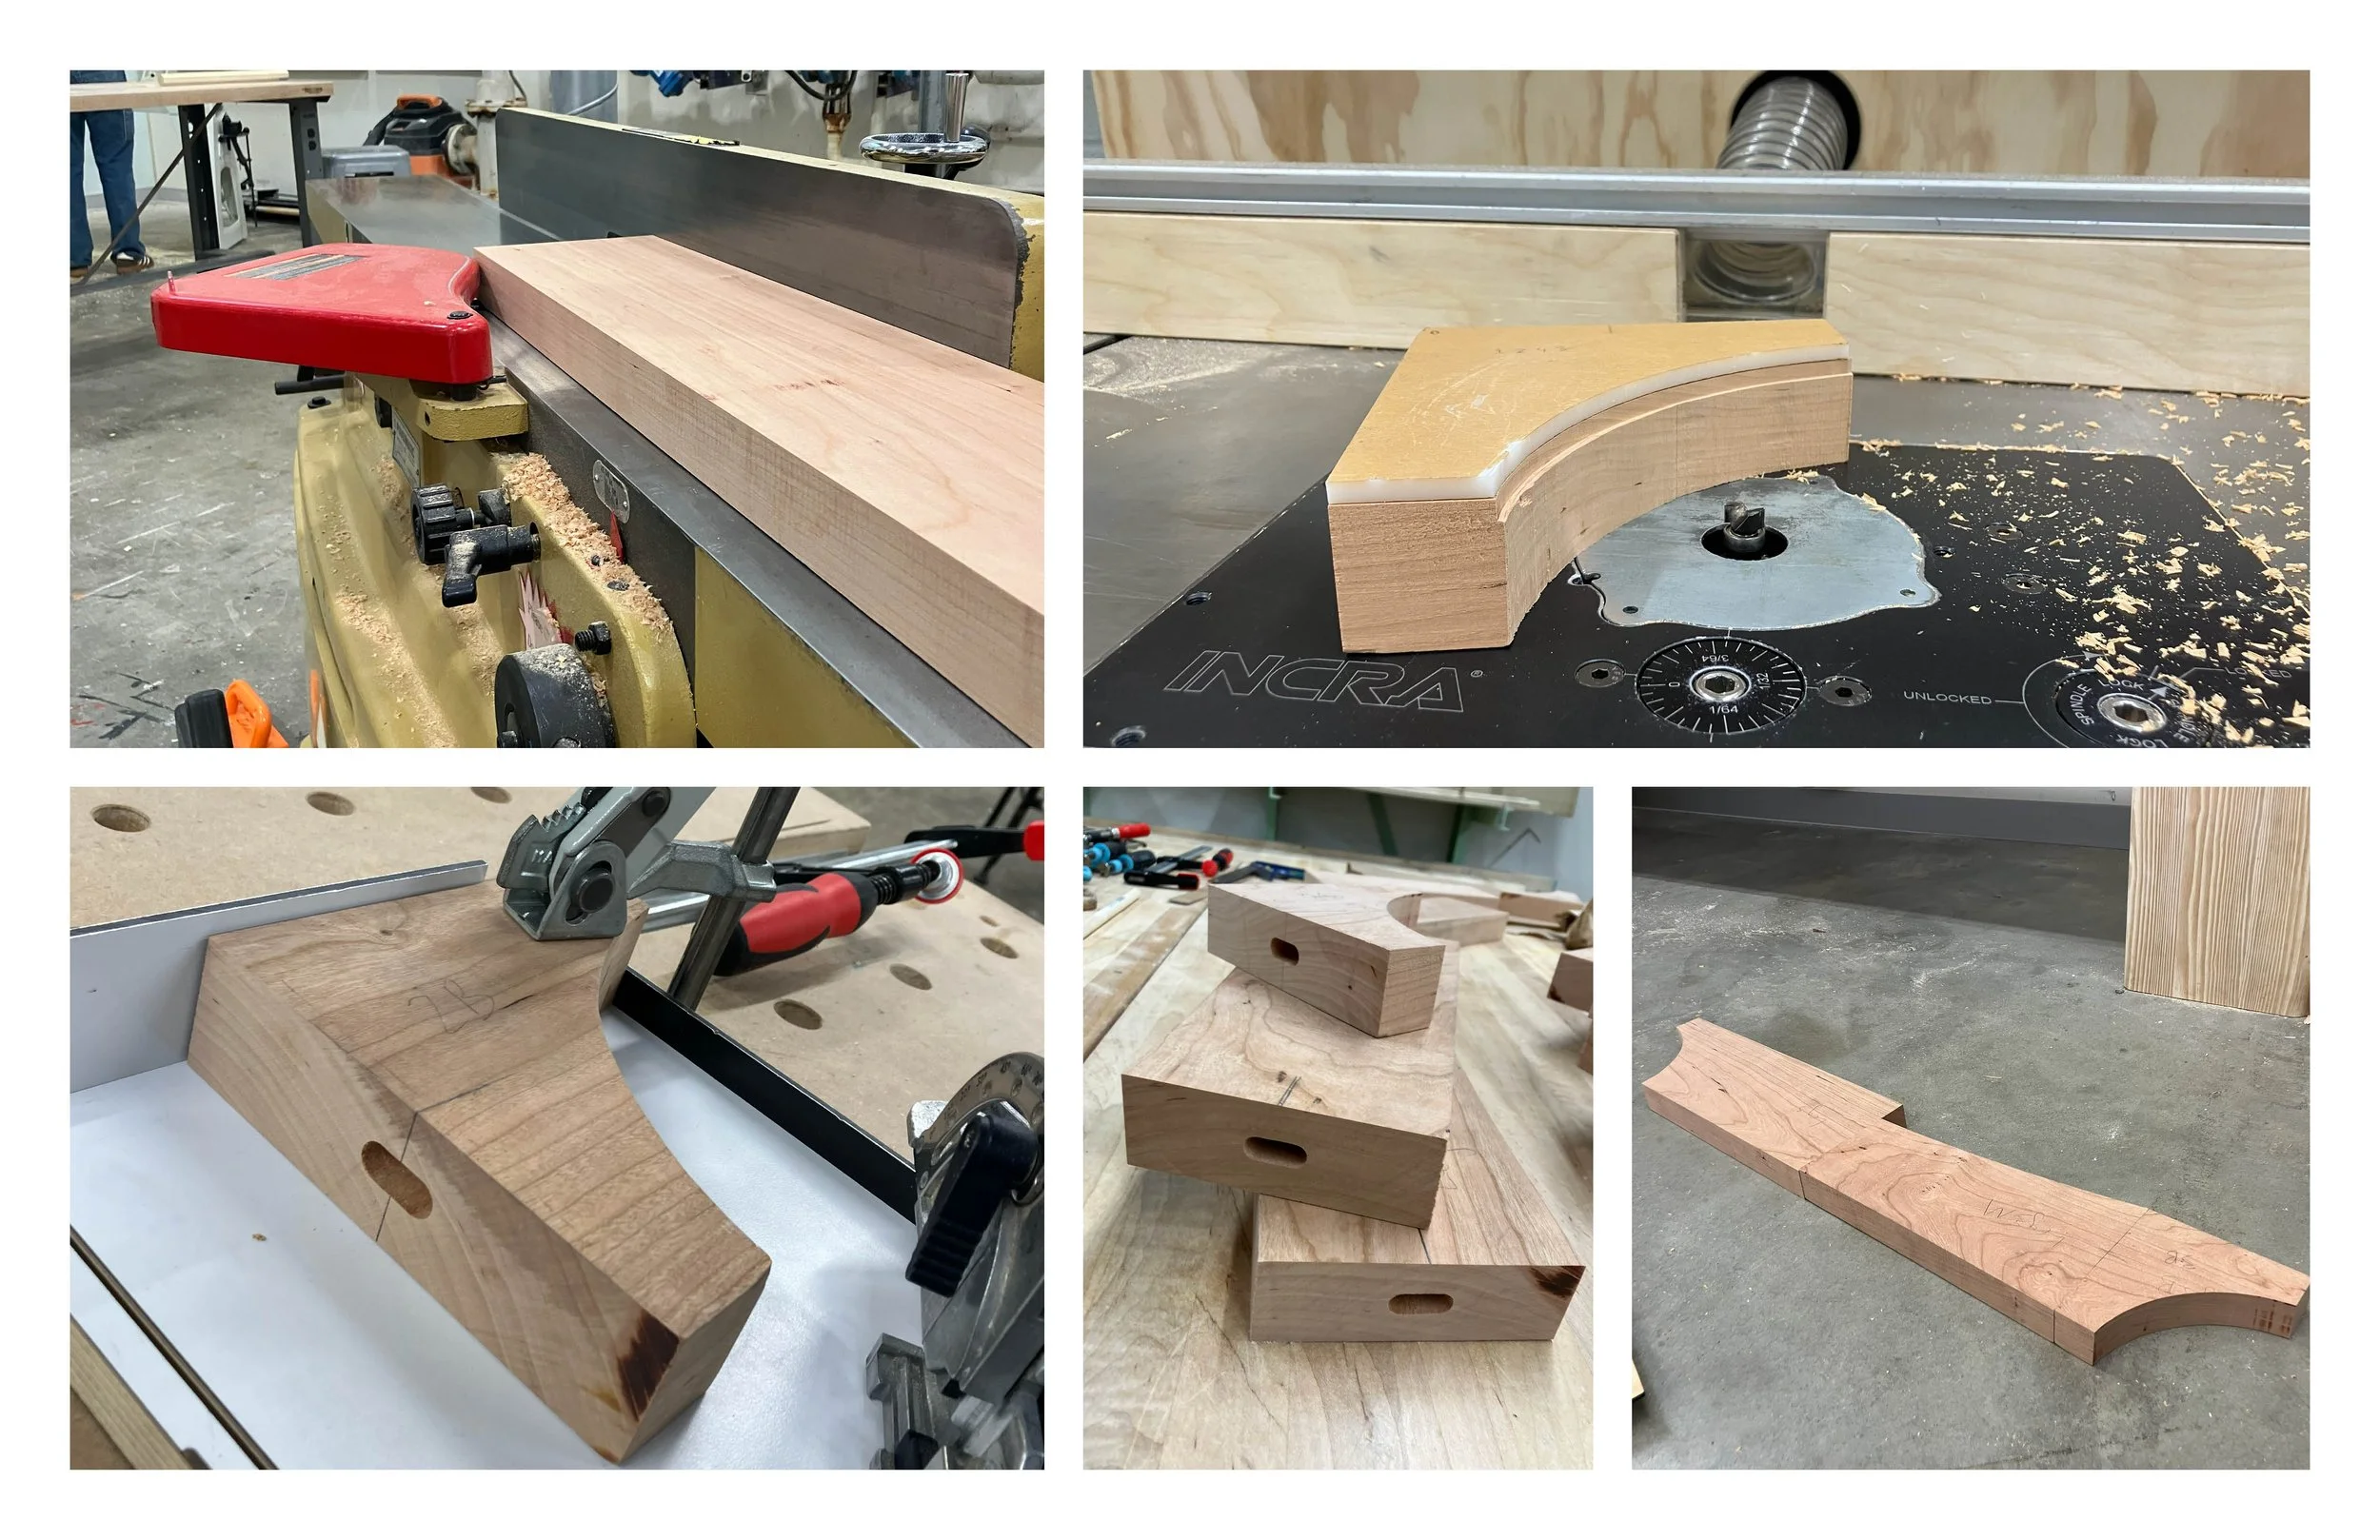
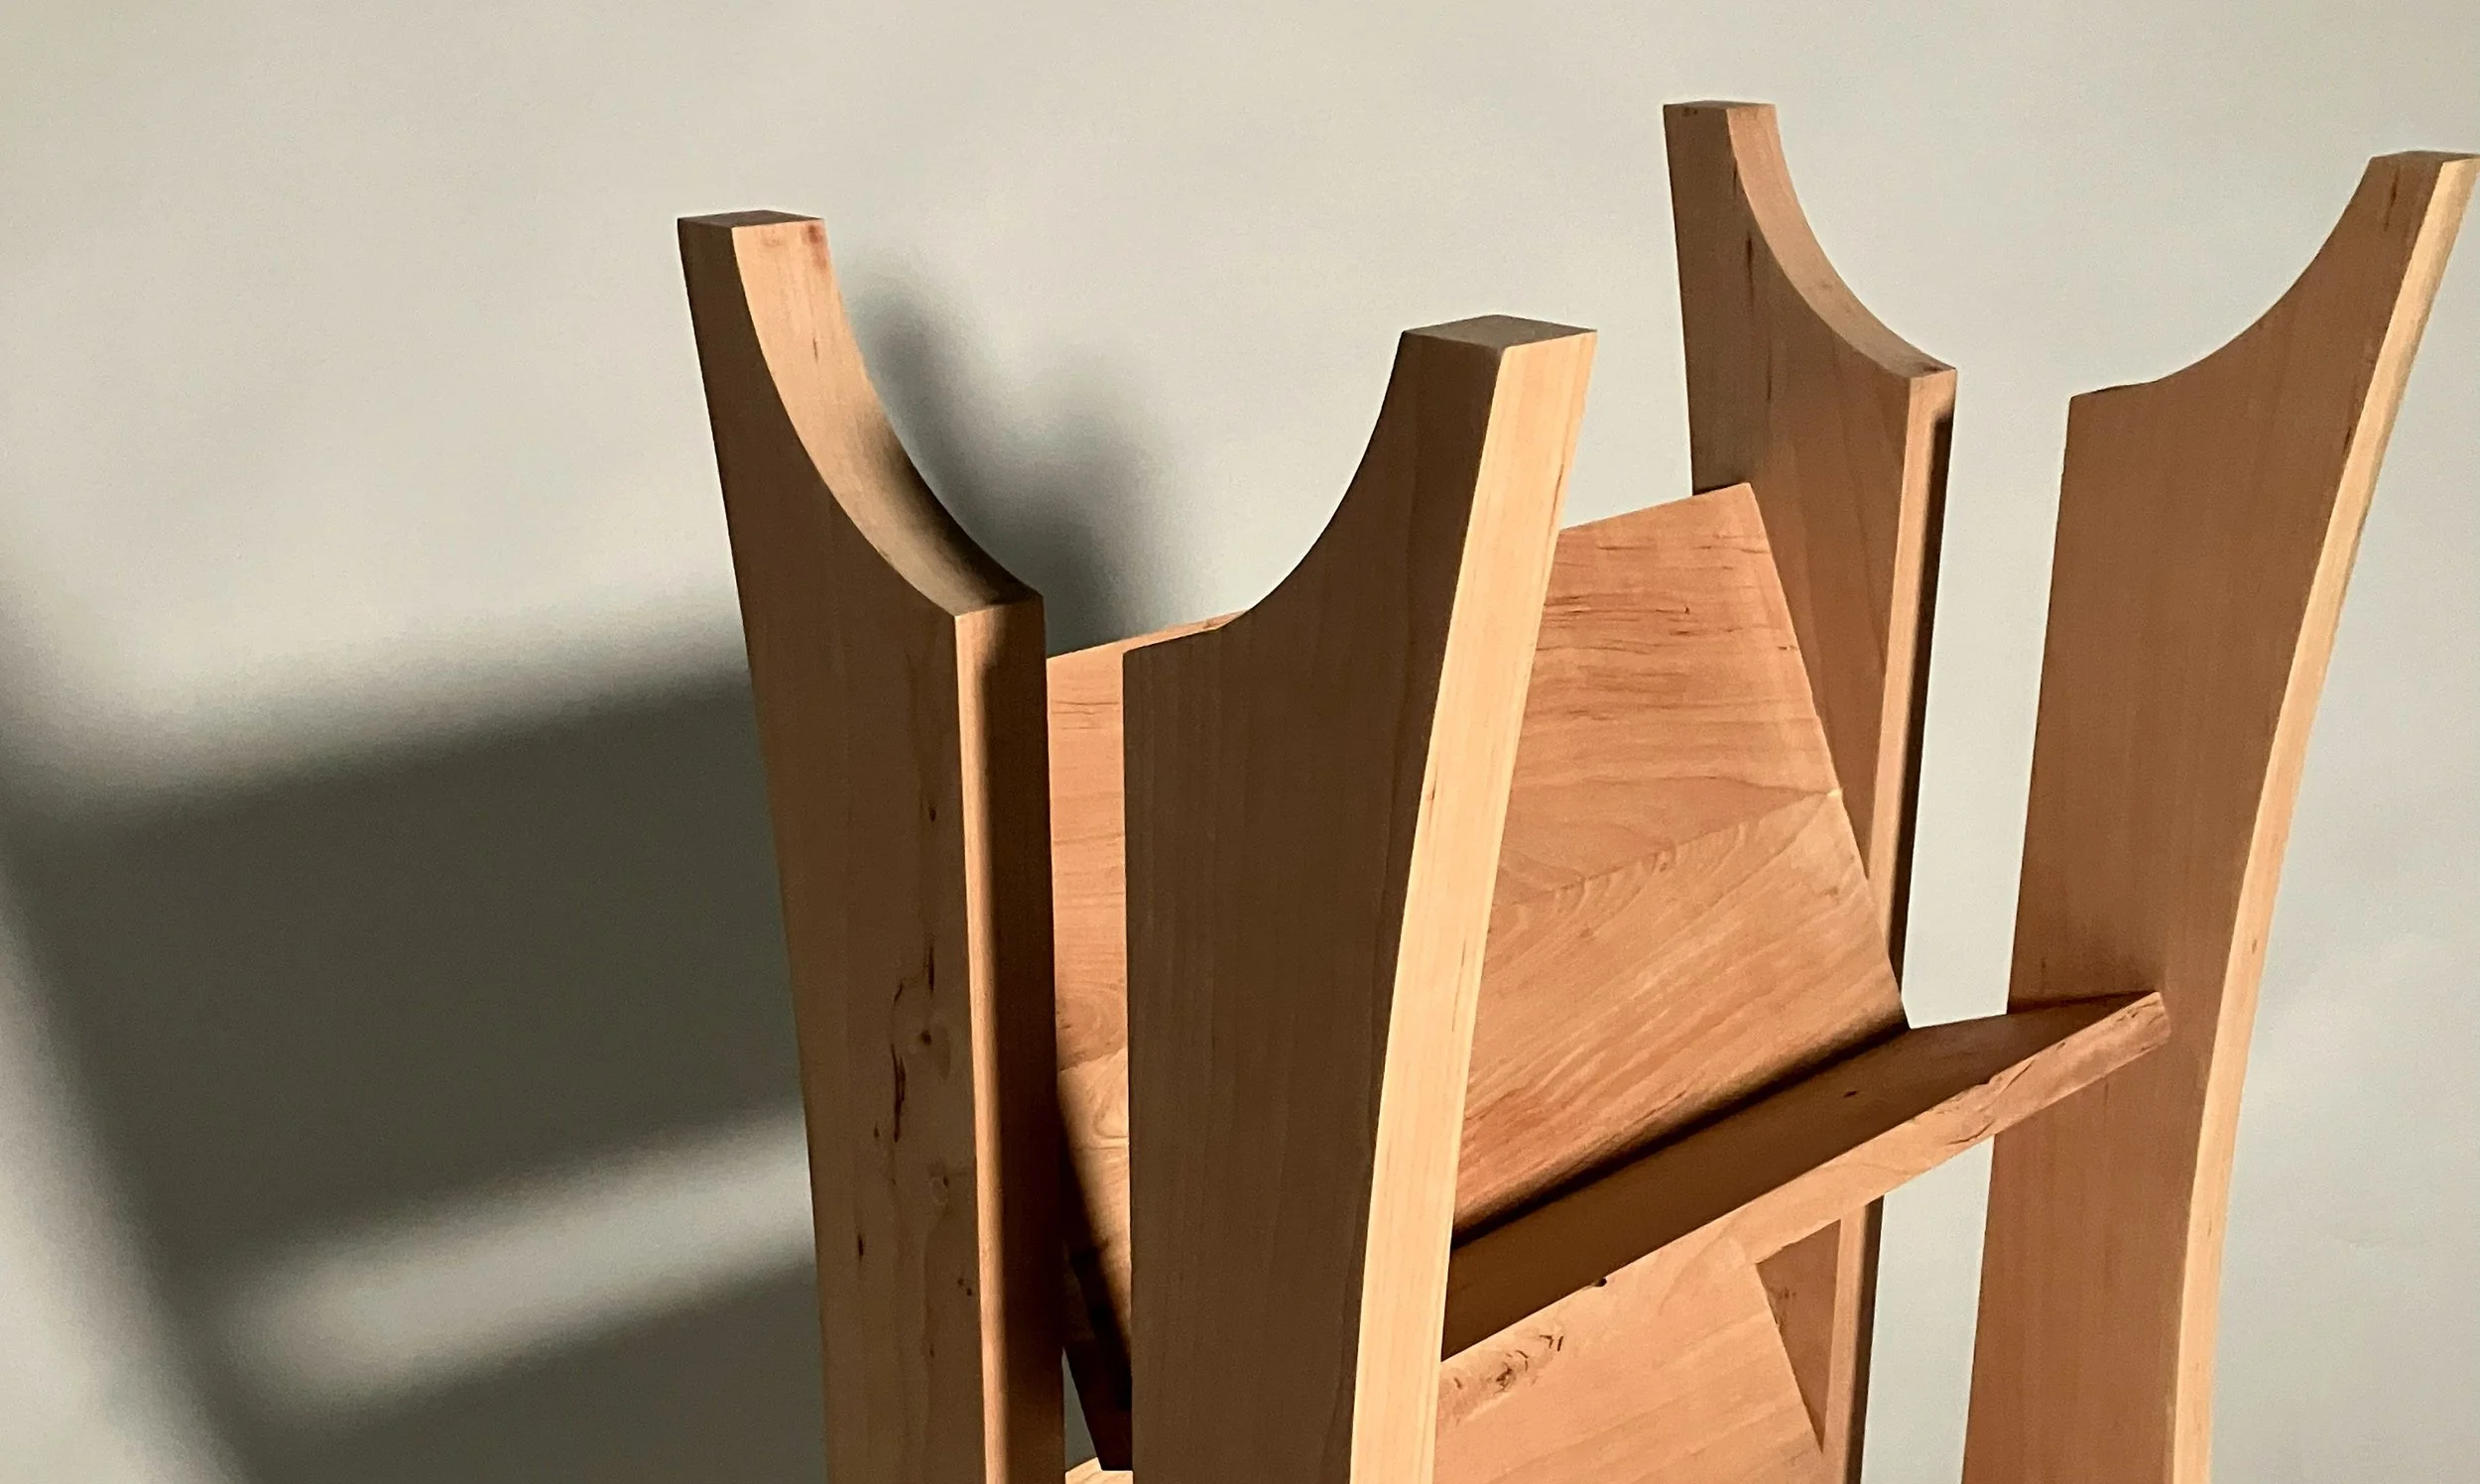
Construction began by running the wood through a jointer and planer to make sure it was flat and ready to dimension. Then, router templates were laser cut out of plywood for creating the top, bottom, and side curves of the legs. Once all the pieces were routed, I laid out where the domino joints were going to connect them together. Using the domino joiner, I created mortises in each piece and aligned them in the correct order.
JOINERY & GLUING
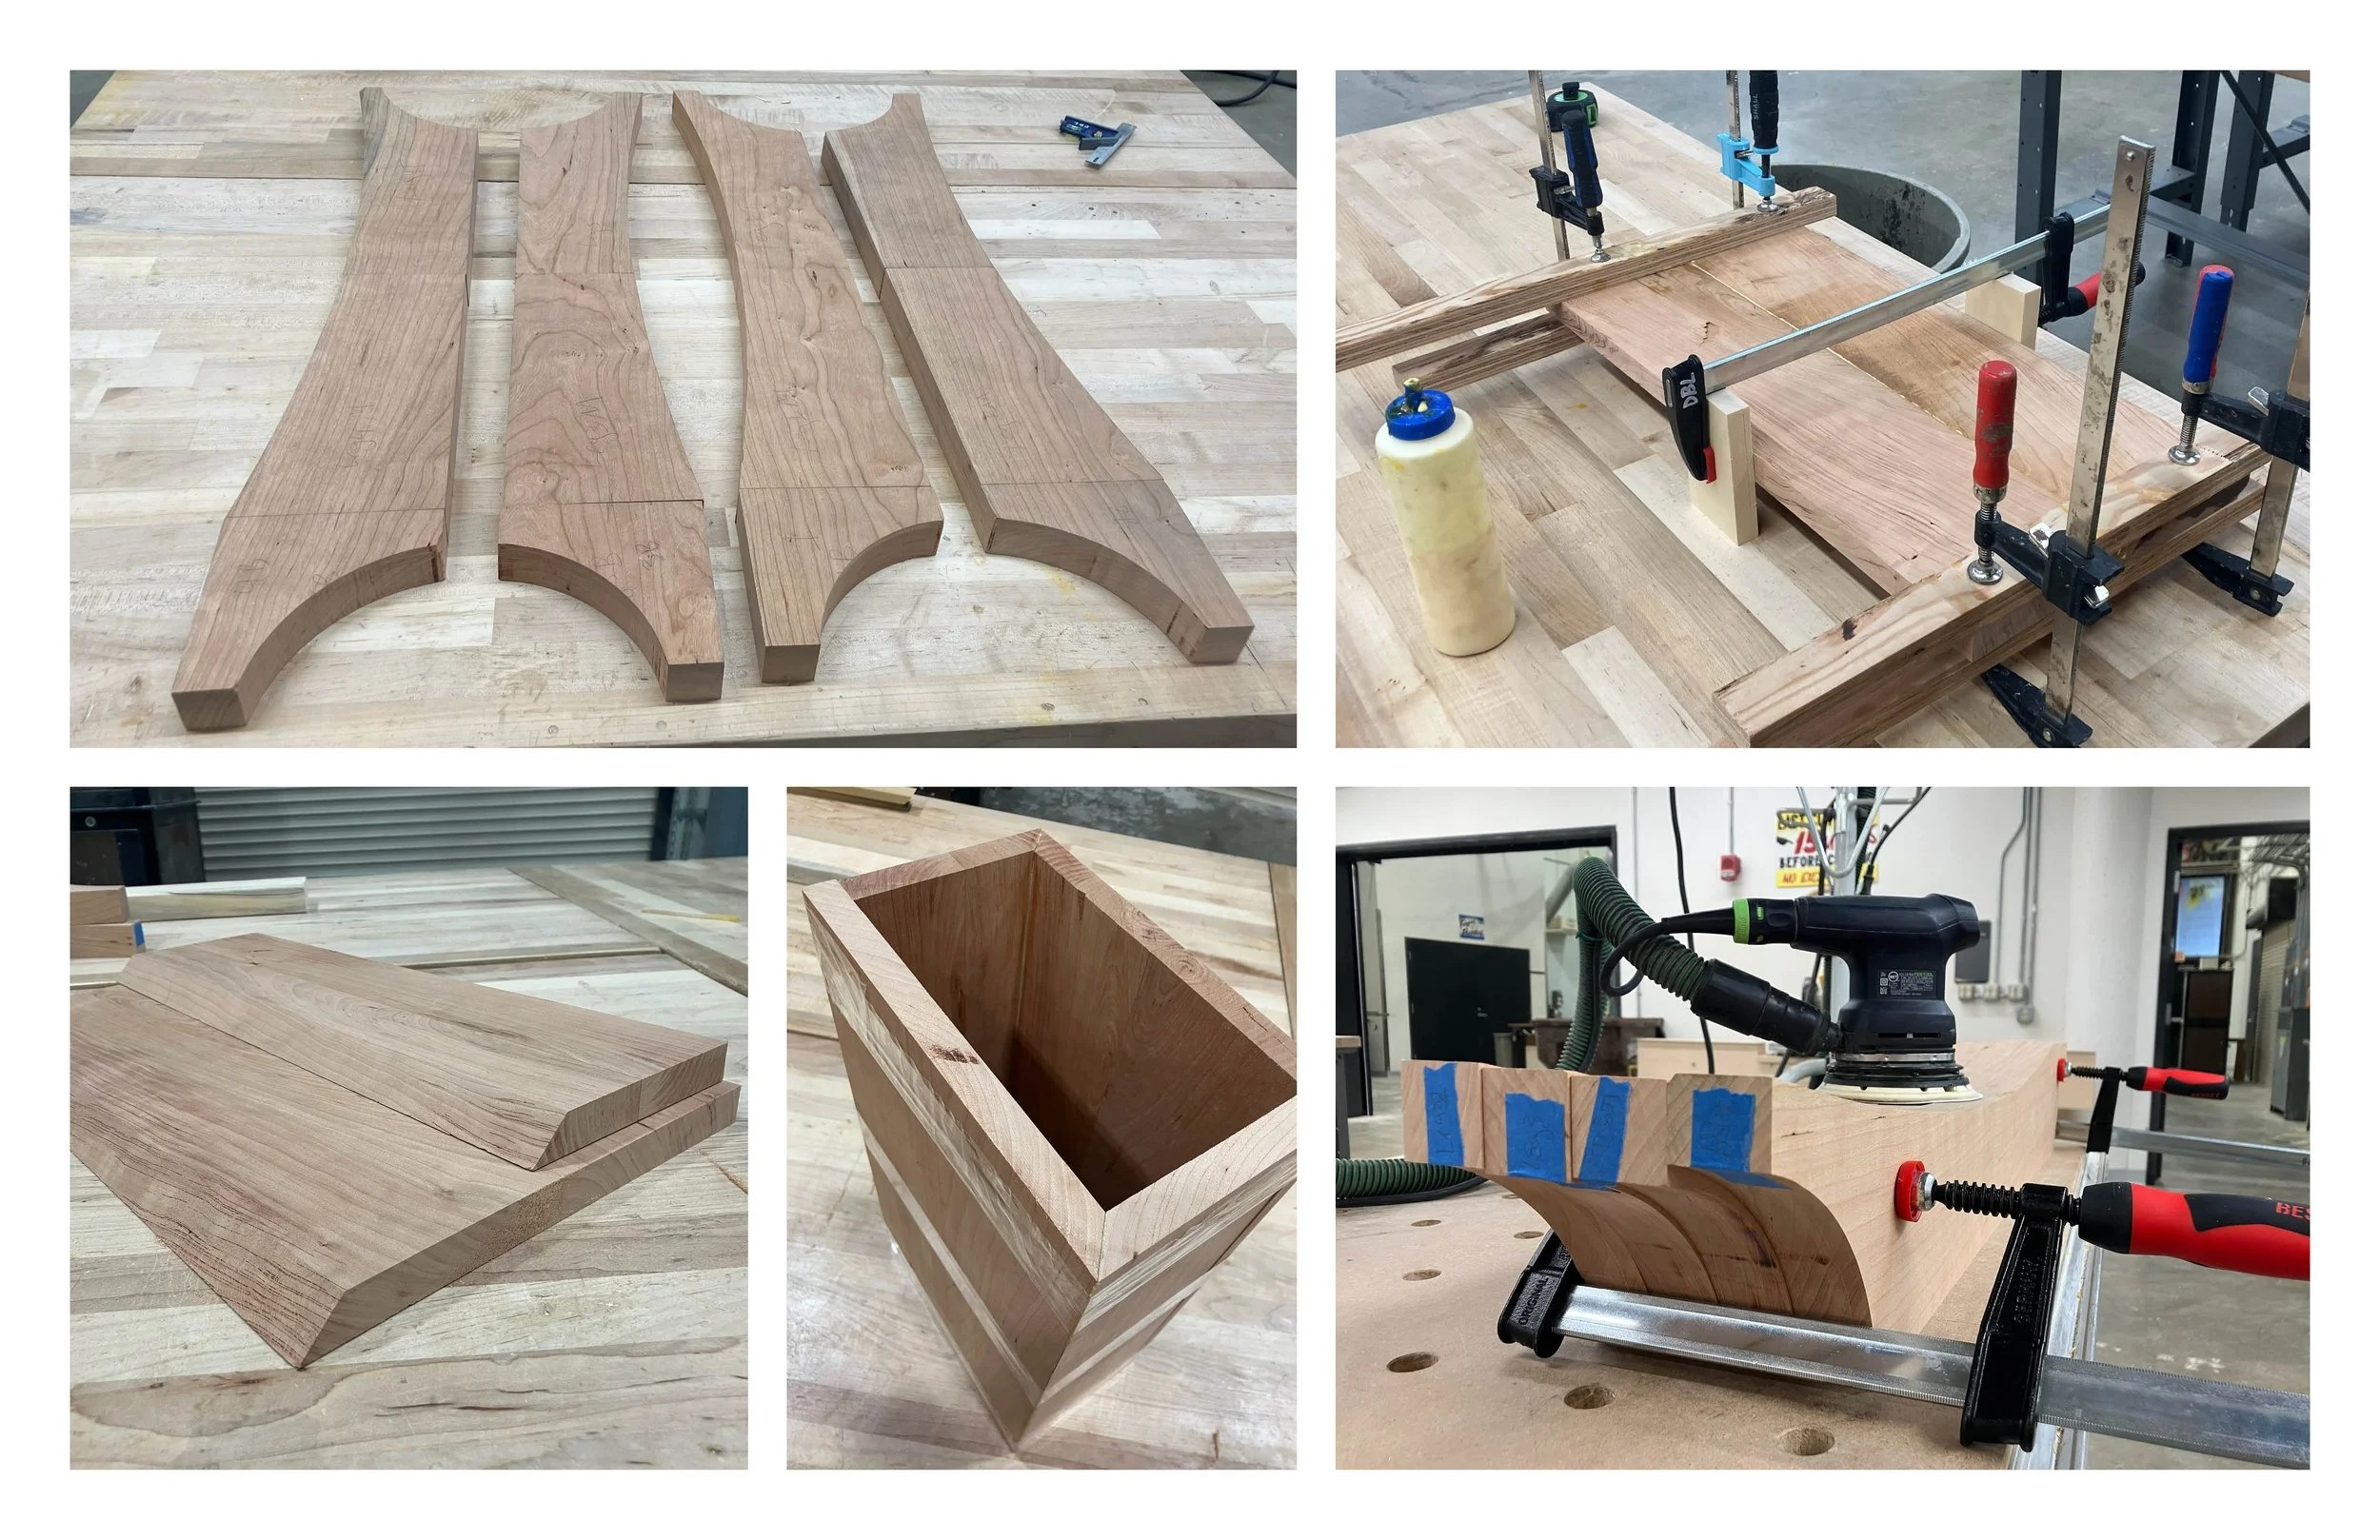
The next phase of the manufacturing process was gluing the legs together and constructing the shelves. The shelves were made of two pieces of wood mitered on the table saw and then glued together. After both the legs and shelves were dry, I then sanded them to make sure the curves and edges matched.
MECHANICAL FASTENERS
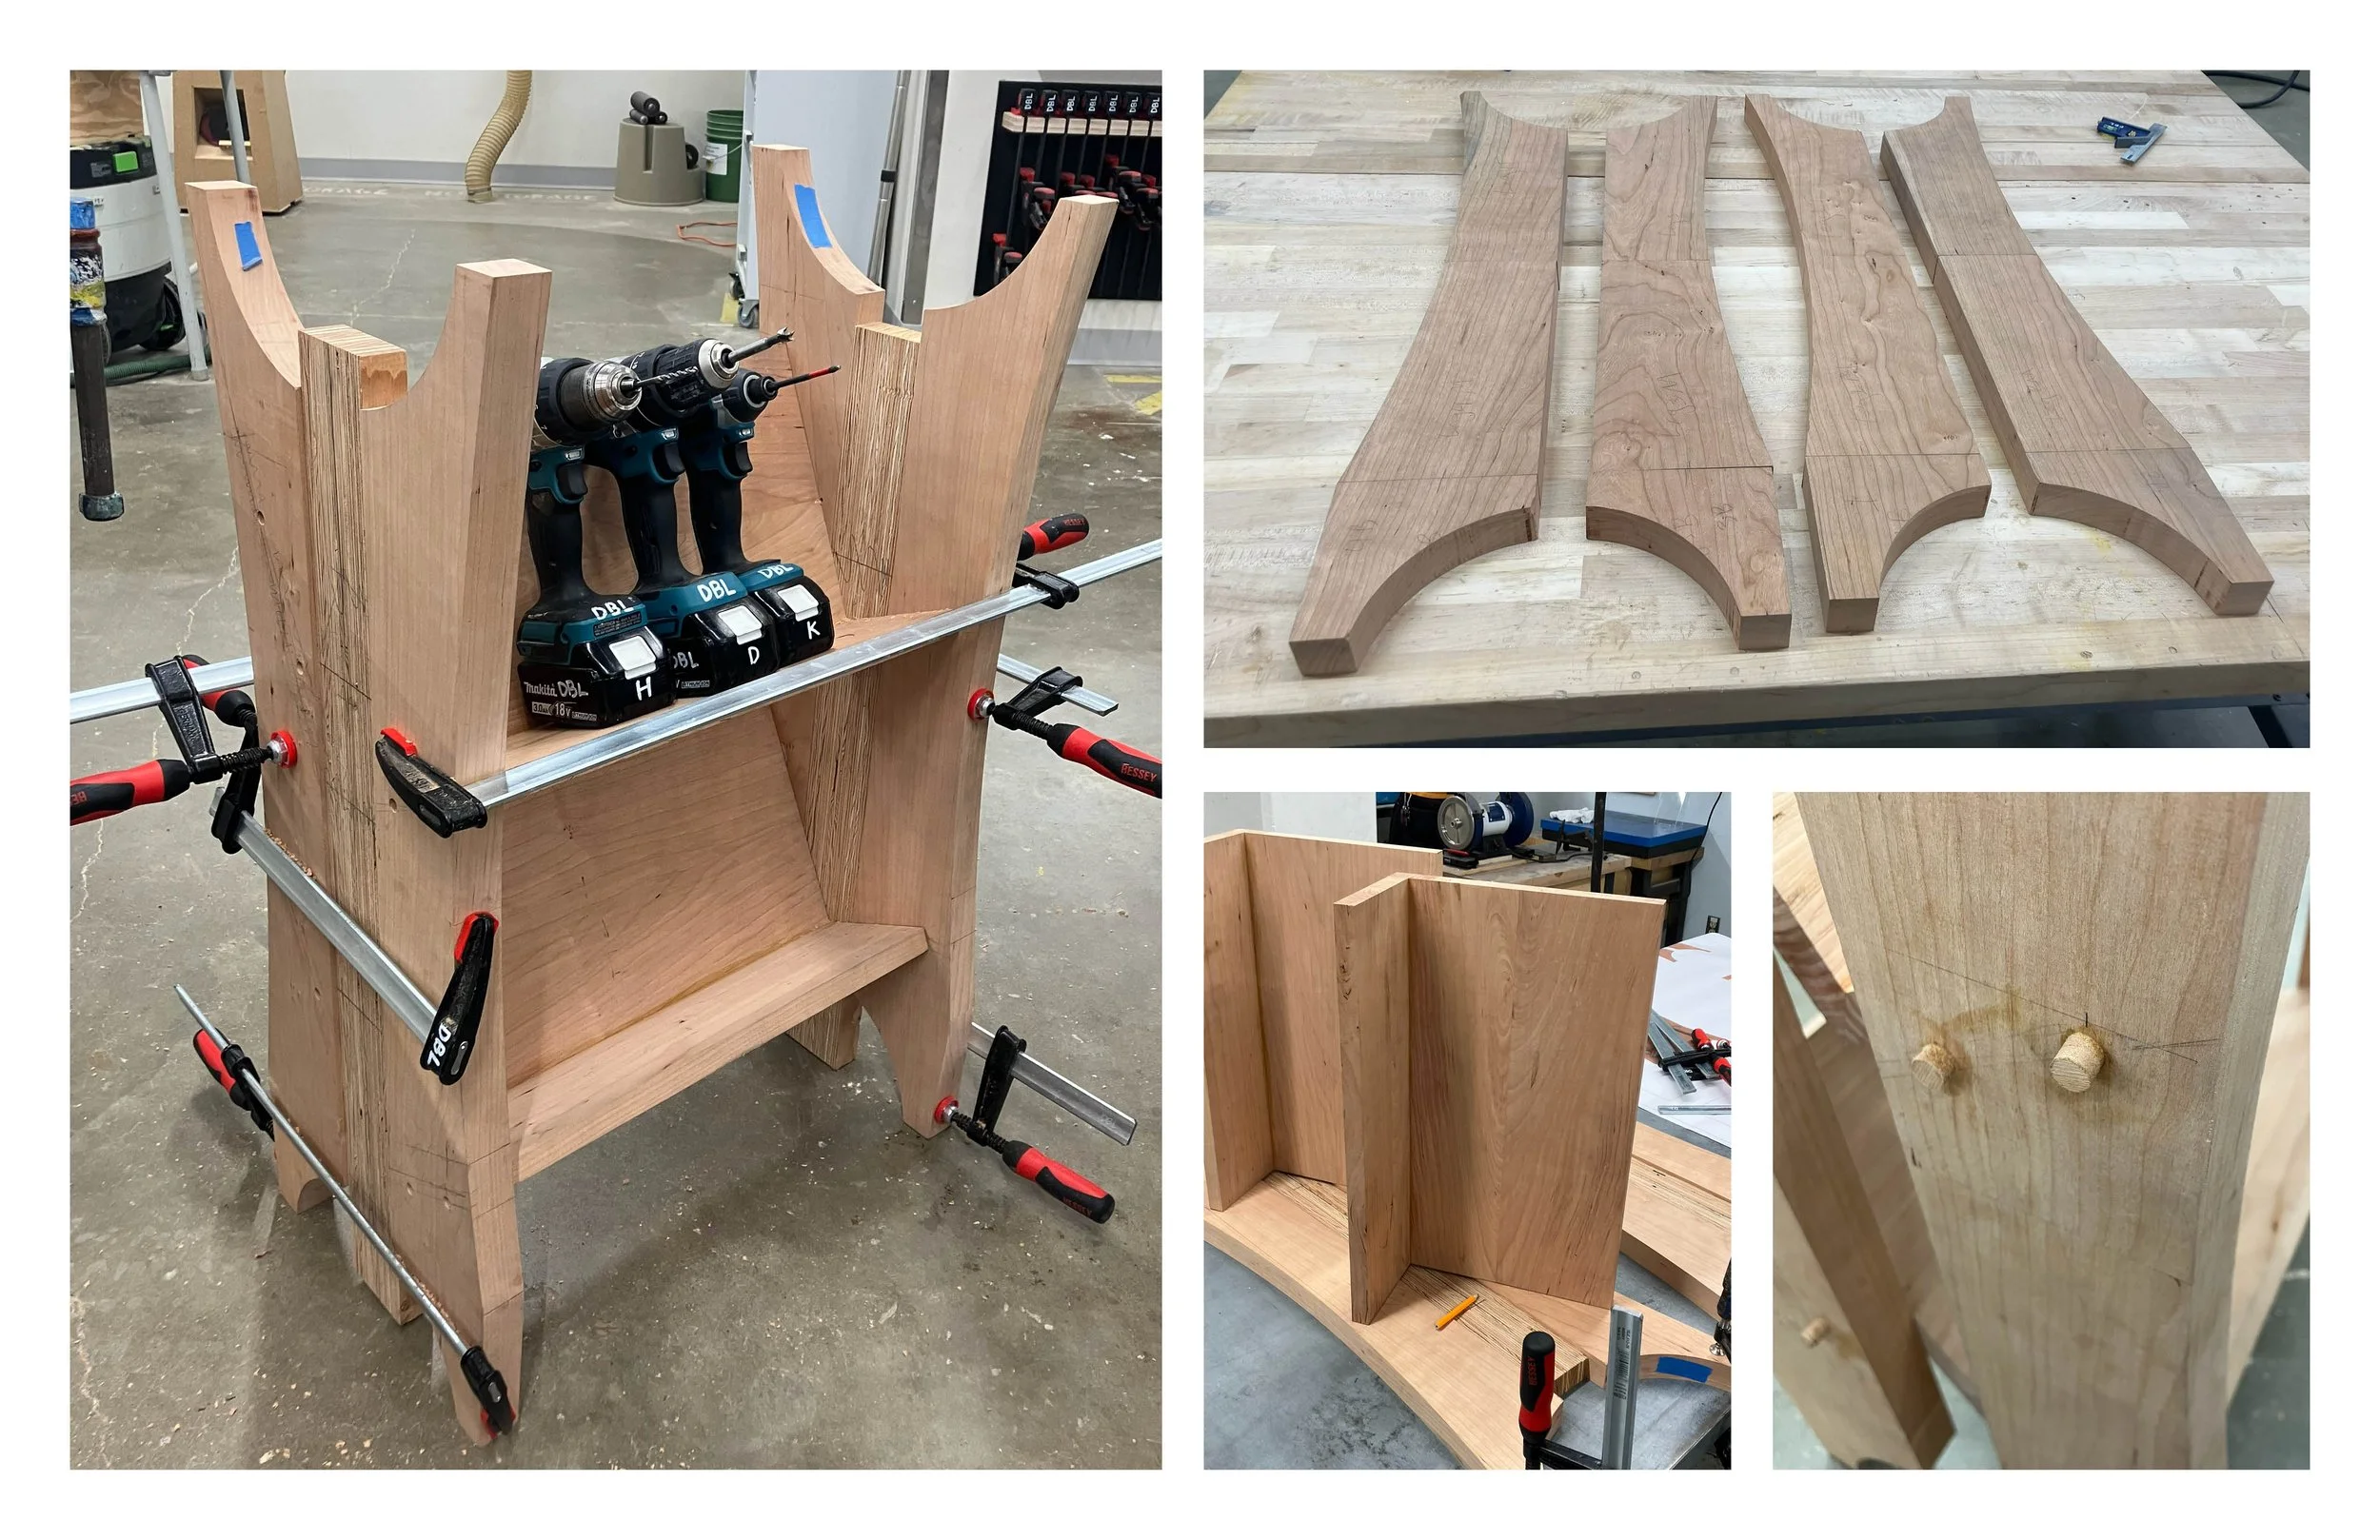
Finally, came the most challenging part of the project, which was connecting the shelves to the legs. I spent a long time laying out all of my dimensions on the wood to make sure the domino joints lined up. Unfortunately, I found out that the parts weren’t alined after I tried assembling the final model.
So, I decided to use one of my back up plans, which was to clamp the piece together and screw the shelves to the legs. The screws would act as rungs, supporting the weight of the shelves and joining the legs. Once I knew everything was attacthed, I took the clamps off and pluged the screw holes with more wood. I hacksawed the plugs flush to the surface and sanded everything until it was smooth.
FINAL MODEL